Monday, 30 June 2014

7 strategies for effective group work


In order to ensure excellent learning, teachers need to support their students in developing the skills that they need to work effectively with one another – ‘Work together’ is one of the 16 Habits of Mind of the most successful people! 


You may have heard of Dr Spencer Kagan’s collaborative learning structures. These are a range of approaches to group work that develop students' independent and collaborative learning skills - and make group work worth your while!

In a recent issue of Creative Teaching and Learning, Paul Fleming of Sedgefield Community College (a secondary school in Durham) shared with us his school’s adaptation of Kagan’s work, combining it with ideas from Paul Ginnis’ Teacher’s Toolkit to select 7 group work strategies to use across the whole school. 

Each of their chosen strategies was designed to support learning in a specific way. 

Perhaps you could spice up your group work with some of the strategies outlined below!


Strategy

Icon

Purpose

What it involves

One Stray

To support the creation of new groups A strategy that involves students discussing an issue in groups. At the end of a specified period of time, we would then ask one student to ‘stray’ from their original group and move to work with a new group in the class.
Round Robin

To support the development of ideas across groups Students work on their own answer initially working in a small group. After a specified period of time, the work would move to the next group and the new group would continue with the answer now in front of them.
Jobs For All

To support effective discussion through consistent roles Students are discussing an issue in groups, but each student has a specific role. For example, one will be the chairperson, one the scribe, one the spokesperson, etc
Talking Chips

To encourage students to think about all contributions All students in a group will have a set number of chips/tokens. In order to speak in a discussion, students need to spend one of their talking chips to get permission to contribute.
Ranking Exercise

To encourage students to negotiate to come to an agreement These tasks all involve students working in groups to take a series of ideas and rank them in order of importance, relevance, etc.
Playing Cards

To encourage group discussions through a series of games A series of strategies that involve students working in small groups answering questions on quiz cards or organising cards into different sequences, order, etc.
Show Down

To initiate peer assessment of learning All students in a group will complete a task individually. When the teacher calls ‘Showdown’, each student will share their response with the others in their group who will then decide which is their favourite response.

Use these consistently across the curriculum and your students will soon be experts - eager to share and show off their ideas! Not only that, but they will be developing many of the key Habits of Mind, such as the ability to work together, communicate clearly and listen and understand.

This blog post is based on the article, 'Strategies for thinking' by Paul Fleming in vol. 4.1 of Creative Teaching and Learning magazine. It's a fab piece, packed full of practical ways to turn your school into a Thinking School. Read it here!

Thursday, 26 June 2014

6 ways to use Twitter for professional development


Twitter is transforming the way people communicate and share information online, and teachers are no exception. Join the blue bird revolution with these 6 ways to use Twitter as a valuable means of furthering your professional development.


Image: igyaan.in


1. Research articles and lighter reading

People tweet a wide range of reading materials - from scholarly articles to more popular write-ups, all ready to download and either be read ‘there and then’ or to save for future reflection or study.

A great way to find content is to search for relevant hashtags – for example, #achievementgap or #flipclass. Searching a hashtag aggregates tweets that have used it and shows the ‘top’ tweets – those with the most interaction. 

TWEET TIP!
This page on TeachThought.com provides a really comprehensive list of education hashtags to get you started with your search.

2. Reports and data – headlines and ‘best bits’

Reports and report summaries are frequently tweeted by teachers and other education professionals. Helpfully, they will often highlight 'headliner' findings or statistics in their tweet and then provide the link to the full document.

Follow the right people and you'll get updates from the OECD, PISA and Ofsted as well as analysis from VIP commentators such as Andreas Schleicher (OECD) or Pasi Sahlberg (Finland) and interpretations of the new curriculum.

TWEET TIP!
The education community on Twitter is an accommodating sort – tweet a request for something and chances are someone will provide it. Ask for ‘retweets’ to get your requests circulated more widely in order to improve your chances of finding what you’re looking for.

3. Conference tweeting

It is increasingly possible to participate in a conference quite comprehensively without actually attending it. Delegates will tweet throughout the conference, sharing quotes, ideas, personal thoughts, photos and even videos. 

Most conferences these days use a hashtag - for example, #Bett2014 or #Frog14 - which will allow you to keep track of the day's highlights, even if you're not there!

TWEET TIP!
At the end of the conference, speakers will often tweet links to their presentations and even videos of their speeches. Make sure you know who's speaking and follow them beforehand.

4. Blogs and new posts

Twitter can be a bit narcissistic at times, with many people sharing this season's online accessory - a blog. Some are good (like this one, we hope!) and some are a bit rubbish. Rummage through the self-promotion though and you'll find some real gems.

People will tweet new posts as they go up, but will often share older posts if relevant to current debate. Also, look out for people recommending other educators' blog posts as they are more likely to be worth reading.

TWEET TIP!
Twitter is a great place to share your own blog. Include 'Share a link' buttons in each of your posts to make it easier for your readers to share your content (like the one at the top of this post... hint hint). You can create the code for the button here. Simply adjust the options to your liking and copy the resulting code into the HTML of your blog post.

5. Planned discussions and spontaneous debate

Twitter users can engage in a variety of planned, themed and timed discussions. Here, individuals and groups arrange to take part in a discussion about a particular topic. To get in on the conversation, people use a pre-agreed hashtag, for example, #eduleaders or #pblchat, on a particular day at a particular time.

You can find a comprehensive list of education Twitter chats and their times here.

Apart from the planned discussions, fierce debates and arguments can often arise quite spontaneously. There are arguments all the time about issues to do with Ofsted, free schools and lesson observation.

TWEET TIP!
You can take part in these chats - both planned and spontaneous - or simply take a ring-side seat and watch it unfold. Don't be afraid to participate, but if you do, remember to include the correct hashtag or else other participants won't see your tweet.

Tools like Tweetdeck, Tweetchat, or Twubs will help you follow the chat. On a mobile device, you may find an app like Hootsuite to be helpful.

6. Resources

On Twitter you'll find suggestions for education apps and websites, teaching tools, activities, teaching approaches and games, old-fashioned ideas as well as those using the latest technology. You'll also find a range of printable lesson plans, worksheets and other resources for use in the classroom. It's impossible not to find something inspiring!

TWEET TIP!
Follow us @TeachingTimes for a range of resources and freebies. Also, sign up to TeachingTimes Report, a free fortnightly e-newsletter, which always features something cool for free - from magazine articles to report summaries to lesson plans.


Image: nypost.com

This post is based on the article, 'Using Twitter for professional development', by Jane Jones, published in volume 6.1 of School Leadership Today. You can download the full article here.

Friday, 20 June 2014

Can you picture the music?


Philip Davis uses images and sound to make sure the students he works with can never say they haven't got any ideas. 

Here, he recounts some of the exciting projects he's undertaken with schools in the last couple of years, and shares a practical activity for you to try with your own students!

The ‘Whole New World’ project in Netherfield school, Nottingham, aimed to raise achievement and motivation in communication and literacy skills across the school. 


Every class, from Reception to Year Six, formed part of an imaginary land – oceans, caves, grassland, forests, rivers, lakes and mountains. I used sounds and images to immerse the pupils into their worlds – for example, a bubble machine and the sounds of waves and water were used with Reception.

Once the pupils had decided what their part of the land was like, they all developed a character. Their characters then became part of stories, and the students used their own images and others with sounds on the map templates. 

A Sherwood oak sculpture at
Netherfield School
As well as developing stories, we made books and models of the characters – Year Six even gave them Latin names. Each year group voted one character to represent their part of the land. These were then made into amazing sculptures using Sherwood oak. They are now in the playground as inspiration for more storytelling and poetry. Structures representing the areas of the land were also built around the playground and the pupils took an active role in doing this. 

Another interesting project I have undertaken with many schools is called ‘Element’, a week-long project based on the four elements – fire, water, earth and air.

The starting point of the whole week is poetry. I put together a collection of images and sounds to inspire ideas. Each pupil writes a poem based on what they experience from those images and sounds. I then collect all the poems and combine individual lines to create four songs – one for each element. Each class learns their song and the enthusiasm shown is wonderful when they realise it is their words being used with the music.

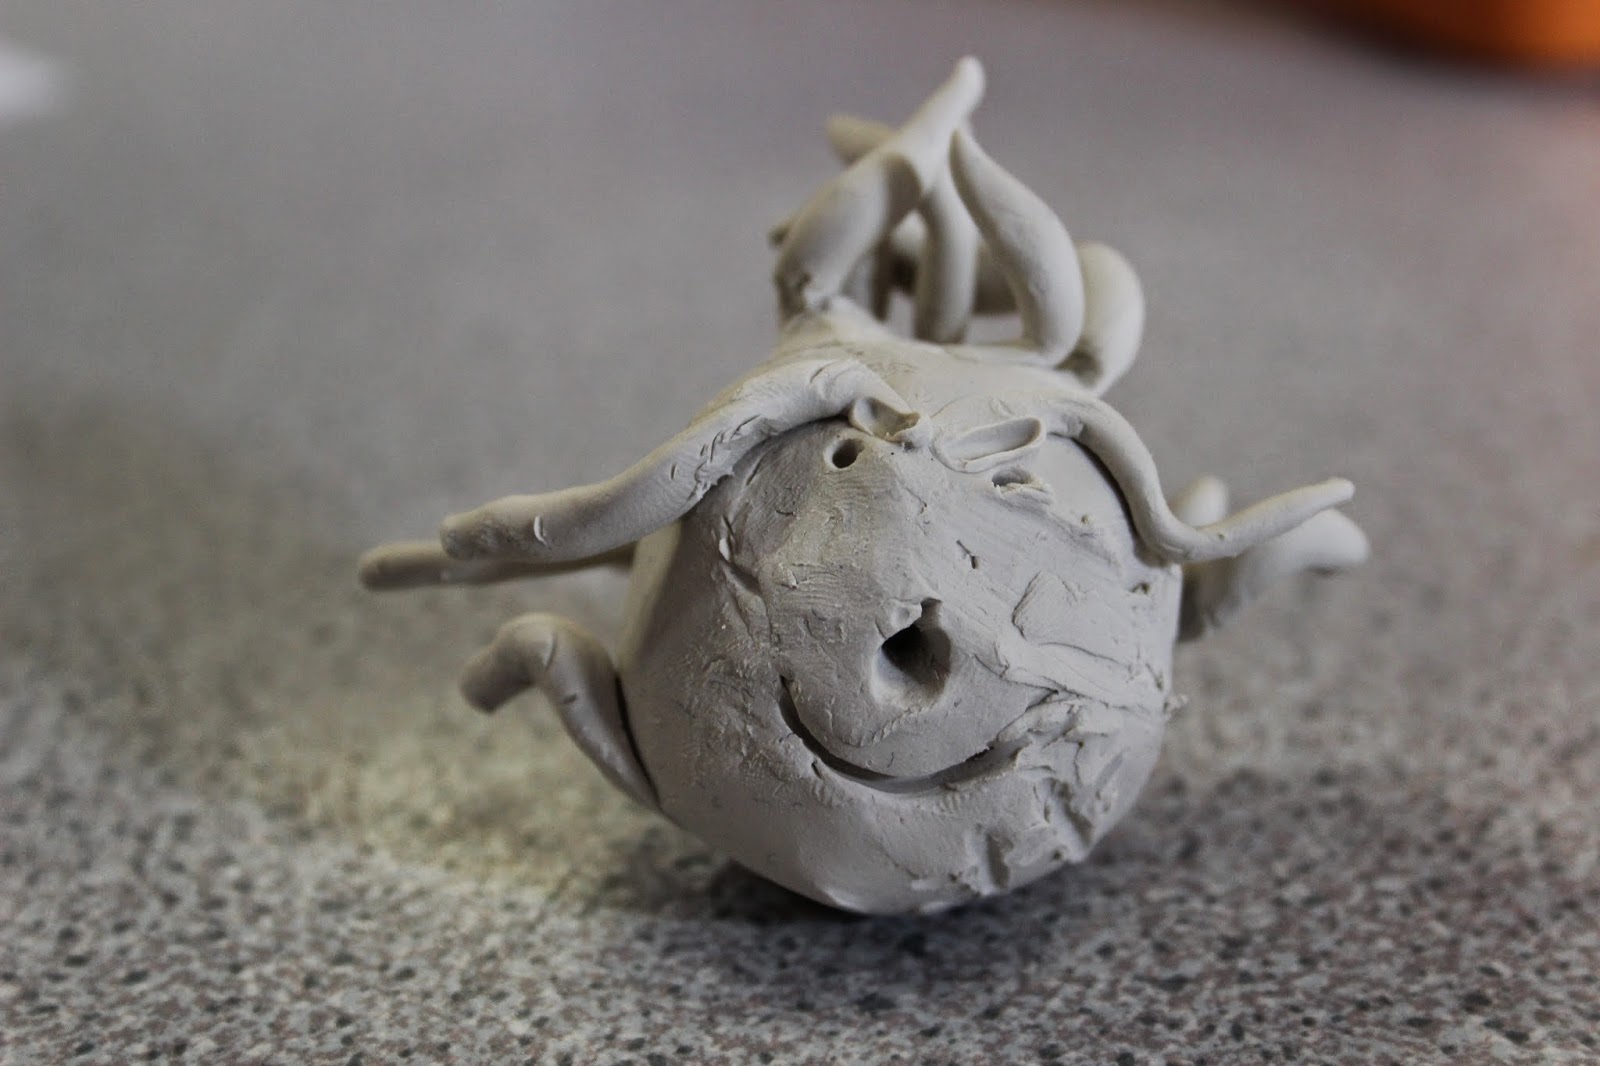
As part of the ongoing development of the methodology used in the Elements project, I have also designed sounds to inspire characters that represent the elements. I do this through something I call 'Sonic Moulding' – creating a three-dimensional model from sound. The diversity and imagination shown in this activity is stunning. Last year, I ran the project in four schools and not one model has been the same. It is an activity that both adults and children love.

The product of 'Sonic Moulding'
These models are then used as the basis for character descriptions. The engagement of the pupils is fantastic – they just love talking about their models, even giving them voices. Some pupils have even gone on to make short, stop-frame animation films with their models. There are so many possibilities.

The Elements project continues with sonic painting, drawing from sounds, poetry performance, expressive dance, song and sound design. Everything is put together for a special performance for parents and other invited guests. The pupils are encouraged to take an active role in all the preparations of this show. 

One parent said to me about his son in Year 4: ‘He usually doesn’t talk about school but this week he hasn’t stopped. He’s loved every minute.’

Try something like this yourself!

You will need:
  • An image of a door (either on screen, or printed - make sure if you print it to have enough to distribute among the pupils)
  • Two sounds of your choice
  • Paper/pens

Put the image of the door on the screen.

Tell the pupils that the first sound they will hear represents a setting behind the door. Ask the pupils (you can do this with any age – even adults love it!) to write down or draw what settings they ‘see’ behind the door. As sound affects us all differently, it is very possible that each individual will have many, unconnected ideas – this is fine and should be encouraged. 

One Year 1 class  used the sounds
to imagine a scary, cold cave
After the sound has been played, give the pupils a few minutes to gather their thoughts and then share the ideas. Get them to write down everything that comes into their heads and encourage as much detail as possible. Rather than saying ‘there is a forest behind the door’, ensure that the atmosphere, colours and all the small details are described. 

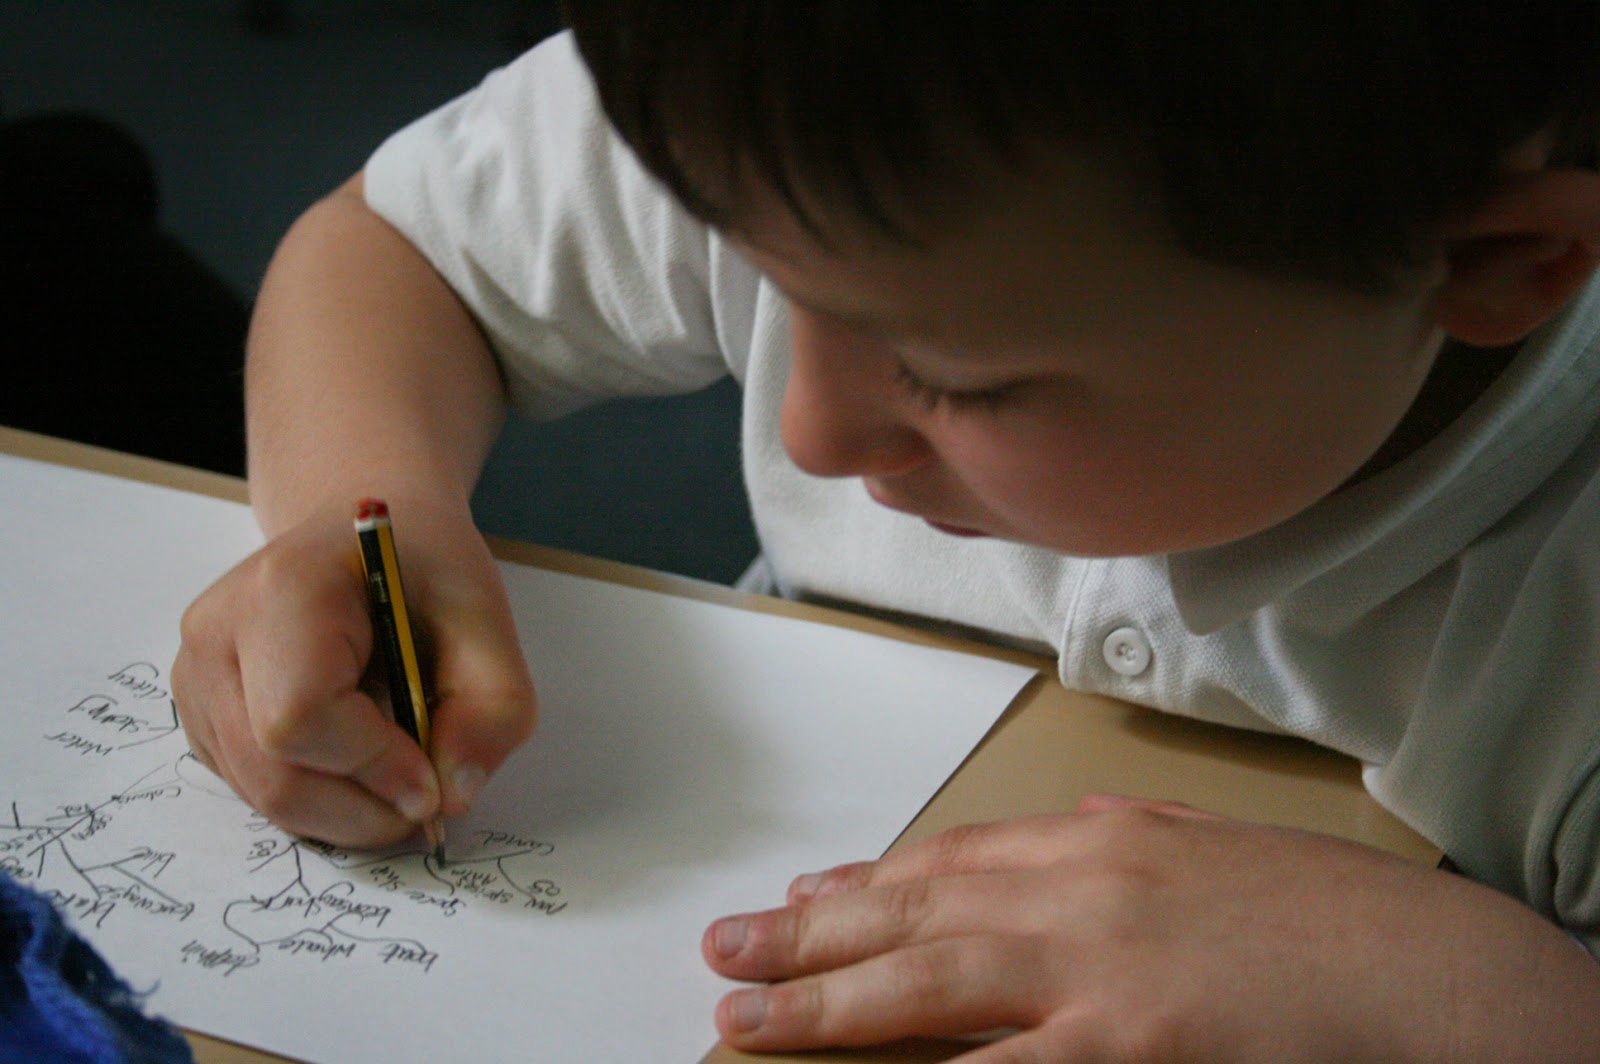
Students can jot down their ideas on mindmaps like the one to the right or post-it notes.

The second sound represents a character. It is important to mention here that you do not want your students to come up with a character from fiction, but an idea of their own. Students can base them on characters they know from fiction, but do encourage them to be original. It works.

Now your students have both a setting and a character - let the creative works commence!

This blog post has been adapted from the article Philip wrote for Creative Teaching and Learning magazine. You can purchase the fab full article here.

Find out more information about Philip and his work here.

Watch the video below to see some of the amazing creative responses generated during the Elements project.

Thursday, 19 June 2014

Top 5 websites for teaching about conflict and genocide


(Image: bbc.co.uk)
August 2014 will mark the centenary of the start of World War I - the bloodiest human conflict the world had ever known. The theme of conflict and by extension, genocide, is on many minds. Have we learnt anything in the last 100 years?

Apparently not. Wars and genocides killed nearly 170 million people during the twentieth century,  and many more since.This makes for a sensitive subject, and one that poses many challenges when working out how to broach the subject in the classroom.

How do we make learning about genocide lively and engaging for students of all ages and abilities? How do we do this and still retain the respect such a subject deserves? And the big one – how do we make such horrific events relevant and meaningful to our students? After all, the death toll is merely that – a figure – and it can be very easy to detach ourselves from dry facts and long lists of statistics.

We've picked out what we think are the best 5 websites for teaching about conflict and genocide. A key theme threading its way through each and every one of them is that conflict and genocide is not at all a thing of the past. It’s happening now, it’s relevant to all of us, and there are things that we, as teachers, students and ordinary human beings, can do. 

It’s a lovely approach to take when teaching about war and conflict, and as well as a range of teaching tools, there are plenty of practical ideas on these sites for awareness-raising activities and initiatives that students might be motivated to set up in their own schools.

1. British Red Cross
The teaching section of this site is very philosophically inclined – most of the resources are aiming to develop students’ questioning and critical thinking skills.

You’ll find lesson plans, assembly kits and a whole array of multimedia resources. Some of it is less relevant to conflict and genocide, but there are some fantastic lesson plans for a range of age groups, covering subjects such as:

There are some very poignant and compelling images here – great discussion starters.

Also worth a look is the 'Quick activities' section, which features a variety of unusual lesson starters and activities, including charming your way through a hostile checkpoint in a troubled country, exploring daily life in a war zone, and an interesting discussion on acting with humanity  and morality during war.

2. Children of Conflict
An offshoot of the BBC’s World Service, Children of Conflict is an awareness-raising initiative, and as such, aims to shock. It focuses on the stories of children who have lived and are still living through wars and conflict - in particular, child soldiers, lost children, wounded children, children running households (generally orphans with younger siblings) and child workers.

The information in each of the main sections is direct and simply put. A child with only moderate literacy skills would have no problem navigating the site and reading the information. You’ll also find quotes and stories from children all over the world here, all in the child’s own words, translated directly and shocking in their simplicity.

The majority of quotes are from school-age children between the ages of ten and 17, which should make them all the more thought-provoking and relevant to our students. It might encourage them to ask, ‘What would I do in their shoes? How would I feel? How could I cope?’

3. Hiroshima Remembered
A fantastic resource for any project or research assignment on the atomic bombings of Hiroshima and Nagasaki, this website tells the story right from the testing of the bombs all the way through to the Japanese surrender and beyond

There’s a substantial number of photographs, a couple of maps and a few short video clips of the explosion and its aftermath. You'll also find a selection of brief biographies of those behind the design, testing and dropping of the bombs – very useful, as the articles themselves don’t waste much time explaining who’s who.

If your students are investigating whether the bombings can be justified, then the 'Historical Documents' section is especially worth pointing them towards. In it, you’ll find a compilation of documents, including lead nuclear researcher Leo Svilard's petition to the president arguing against using his newly developed atomic weapon on innocent civilians, the White House press release on the Hiroshima bombings, and the personal reflections of President Harry Truman on giving the order to drop the bombs. A lot of interesting and thought-provoking resources here – the highlight of the site as far as we're concerned.

4. A Teacher's Guide to the Holocaust
A must visit for teachers of all key stages – and students too.

(Image: thephilanews.com)
Aside from pages and pages of facts, figures, eyewitness accounts, photographs and lesson plans, you'll also find a massive compilation of multimedia resources such as photographs, video clips, music, maps, bibliographies and more.

Highlights include hundreds of primary source documents related to the Holocaust, and a collection of virtual reality movies. These virtual reality movies – essentially interactive panoramas – will take you and your class on a virtual tour around concentration camps, Nazi ghettoes and Holocaust war memorials. Especially poignant are the images from Majdanek camp and killing centre, which lead you through the final journey of the Nazi’s many gassing victims – beginning with the undressing room and ending in the crematorium. 

For many students, the Holocaust is a difficult thing to comprehend – these panoramas are an effective way to make it real, and might also stimulate some interesting responses through creative writing, drama or music.

5. Rwandan Stories
A striking site, Rwandan Stories traces the history of the Rwandan Genocide right from its origins, all the way through to the nation’s recent and rocky recovery.

The articles are clearly organised and categorised, and the information included is extensive.
There are some stunning photographs here, and a large number of fantastic video clips, the majority of which are around two to three minutes long, making them perfect for a classroom setting.

Highlights include ‘My friend the killer’, the firsthand account of a young woman who became friends with one of the interahamwe militia, and ‘A good man’, in which a young Rwandan man who lost over fifty family members during the genocide, recounts his grandfather’s murder.

The site is full of stories like these, and not only from journalists, relief workers and victims of the genocide either. The most interesting and unique aspect of this site is that it includes stories from those who participated in the genocide too – the killers. 

Their tales of brutal murder are chilling, but reading through, you realise that they are people too. It’s a sobering thought, and has such potential for deep exploration, especially with older students, providing a fantastic starting point for all sorts of philosophical enquiries into morality, prejudice and dehumanisation.


The killers speak
(Image: rwandanstories.org)

Wednesday, 11 June 2014

Reading in roles - Collaborative reading task (with free resources!)


Reading can often become a very isolated activity in the schools. Regular classroom reading sessions are great for getting kids in the habit of reading, but children are social creatures and too often, such sessions involve sitting in silence with a book the child may or may not find interesting. Not many skills being developed there!

Reading at GCSE level and beyond requires a range of skills. Students have to read for meaning (hidden or otherwise) and form opinions. They will have to question a text, summarise it, clarify it to themselves and the examiner, and even make predictions about what the text implies will happen next.

You don't have to wait until the students are studying GCSE English to teach these skills... you can start as early as primary school!

Ever heard of the reciprocal reading roles? 
If you're a subscriber to our magazine, you'll be familiar with this reading task as it's often featured in the free cross curricular project plan published with each issue.

The purpose of this activity is to encourage active thinking and reading through close examination of a text. This can be fiction, non-fiction, a short story, an extract from a novel, a historical account - anything you like!

This activity can be used by primary teachers in Years 3-6, and also in secondary schools, in years 7-9.

Here's how it works:

1. Split your class into groups of four (five, if absolutely necessary, but four is preferable).

2. Assign each student with the group a reading role. The roles are:
  • SUMMARISER – Think beyond what actually happens in the text. Identify the three most important events/details. Why are they important? Are they connected in any way?
  • QUESTIONER – Pose at least three questions which look at the text in depth. Try to ask open, challenging questions. Address confusions that will encourage thought and provoke discussion. 
  • CLARIFIER – Make a note of any words or phrases that will need to be checked. Are there any ideas or issues that need to be clarified to make the reading clear and easy to understand? To help to clarify, can you think of any ways that this section links with other sections and what you already know? 
  • PREDICTOR – Identify at least three text-related predictions, based on how your response to the text is developing. This will help your group to articulate what will happen next.
If there is a fifth group member, he or she becomes the group director, ensuring all the roles are undertaken conscientiously in the group.

3. Hand out the reading roles cards (these can be downloaded from our website here). These explain what each role entails in more detail. They will need to be cut out, beforehand if more convenient, and folded so they stand like place names. The tabs on the outer edges can be folded inwards to increase stability.

4. Each group member reads through the text from their assigned perspective. They work independently, taking responsibility for their own role, but in a collaborative way, discussing their findings with the group and making links between each role.

5. Students record their findings by contributing to the group record sheet (download this here). This grid can be photocopied at the end and distributed to each member for a permanent record.

You can download an alternative collection sheet here. This splits the main aspects of the text down into sections (i.e. key people, actions, locations, links). Students can then categorise their summary/clarifications/questions/prediction according to each area.


You many need to spend some time beforehand explaining the reciprocal reading roles to your students, but it won't be long before they've gotten the hang of it! This activity can be used over and over again, as students take on different roles and develop a wide range of reading skills, ready for use later on in their schooling.

This activity was designed by Jane Jones. Jane creates the cross curricular projects included for free with each issue of Creative Teaching and Learning magazine. You can subscribe to the magazine here.

Interested in our cross curricular projects?

Subscribers to Creative Teaching and Learning can access all our cross curricular projects for free. If you're not a subscriber, don't panic! You can purchase the projects for £36 each, no subscription required.


Projects available for purchase include:
• The Titanic
• The Olympics
• Tutankhamun and the Ancient Egyptians

Wednesday, 4 June 2014

A treasure hunt for the digital age


A QR code
Creative teaching need not be about play-dough and paint, but can simply be taking advantage of the learning opportunities that technology can offer - even relatively simple ones.

In this post, we share an exciting series of lessons based around the idea of a treasure hunt using student-generated QR codes. The lessons make use of Solo Taxonomy and were designed and first implemented by Rachel Jones, a teacher and blogger with a penchant for all things creative.

Engaging older learners
Rachel is an A Level sociology teacher, so she works with older students - often those who found school difficult and are hoping for a fresh start at Sixth Form.

Aside from the play-dough and paint (which she does use - along with ball pits, parachutes and 3D essay plans!), Rachel likes to indulge her geekier side. She designed this QR code treasure hunt to self/peer teach Feminist approaches to inequality, and replaced lesson plans that, the previous year, Rachel reveals, had included a 34 slide powerpoint.

The following outline was featured as part of a longer article for our magazine. You can purchase the full article here. It also featured as part of a post from Rachel's own blog, 'Create, Innovate, Explore'. You can view her original blog post (which features loads more exciting ideas for all kinds of treasure hunts) here.

Lesson one 
One student's 'treasure map'
(Image: createinnovateexplore.com)
Students were divided into small groups of two or three and given an area of Feminist enquiry into inequality to become experts in – for example Hakim, the pensions gap, and so on. Rachel gave them an hour and a half to research the topic and then create a 'treasure map' (a Solo style station) with QR codes that would enable other students to research and become experts in that area. 

"The classroom was soon filled with learners utilising their own devices to research and then create resources for the use of other groups," she says. 

By the end of the lesson, all the groups had produced QR codes (Rachel recommends www.qrcode.kaywa.com for generating the codes) that linked to relevant web-based or student-generated content. 

They had achieved the unistructural phase of learning. 

Lesson two 
The students arrived with a QR scanner already downloaded onto their devices. They then worked round the room using the QR stations to complete a grid that covered the content of the specification.

Rachel was amazed at the quality of the content that the QR codes led to. She says: "Students had not only linked them to web content, but had also created podcasts, infographics, and even a twitter account (for a dead Marxist Feminist) to assist their classmates in their learning.


"The beep noises the phones make when they scan the codes made my classroom sound like Tesco checkout, but the students were totally engrossed working round the various stations to ensure that they completed the grid."

"There was a surprising amount of peer support and sharing of information," she adds. "All students completed the grid, which was a demanding amount of material."

This was the multistructural phase of their learning.

Image: createinnovateexplore.com
Lesson three
According to Rachel, "this was the day the sun first came out and so we decided to decamp outside." Before doing this however, she gave each group  a giant hexagon and told them to summarise their initial unistructural learning onto it. The students then took the hexagons outside and spent time as a whole class moving the hexagons around to create evaluative links between the theorists.

"This was more complicated than it sounds, and took some negotiation between the different opinions and evaluations of individual learners," Rachel says.


This negotiation, and the evaluative skills that it required to reach a collaborative conclusion, made up the relational and extended abstract phase of the learning. 

"It encouraged the learners to think beyond the information presented and utilise learning from other modules and even areas outside the formal learning of the course," Rachel explains.

Try it yourself!
This type of treasure hunt can only be successful if all your learners have access to the technology to create and undertake it. You can run into problems if they are sharing phones or devices, so you need to ensure that you plan effectively around this issue. 

However, Rachel concludes: "Because the students knew other learners would need their information to complete the task, they were invested in the quality of their output which resulted in some amazing finished pieces and an enjoyable learning experience for my class."

Visit Rachel's blog for more exciting ideas and resources for creative teaching. 

Monday, 2 June 2014

Building support for project-based learning


Image: nga.org
One of the key determinants of project-based learning success is the support from other teachers, the headteacher and your students’ parents.

After all, you’ll need your head’s consent to get started and you’ll need the support of your colleagues to develop and implement a high-quality project, especially if it’s your first time.

But how can you convince everyone of the value of PBL? And even if you can, how can you prove to them that it’s all going to go according to your carefully made plans?

Well, chances are it’s not all going to go according to plan, but there are a number of things you can do to get everyone on board and keep them there.

Getting the nod from your head
You know what your headteacher is like and what concerns them. The Innovation Unit’s guide to project-based learning suggests pre-empting what might worry them about PBL and what they're likely to bring up as a reason for not giving your project the go-ahead, and then planning how you’re going to prove them wrong.

For example, if your head is worried that PBL won’t be academically rigorous enough, prepare a detailed outline of the curriculum content you’re going to cover and how you’re going to do it. If perhaps, your head is worried that PBL won’t suit all students (i.e. those with special educational needs), make sure you've got thorough plans for how you're going to differentiate.

It’s worth reading up on project-based learning in order to build up a strong case for it. This fantastic Edutopia blog post by Bob Lenz highlights three concerns about PBL – basically, reasons people will give for not going for it – and explains why they’re just not true. In this post, also from Edutopia, John Larmer of the Buck Institute for Education (BIE) does something similar.

If your head won’t agree to a full-scale, whole school extravaganza, see if you can carry out a small-scale project with your class or even just a target group (i.e. more able learners). It’s probably best to start small anyway – and the mind-blowing success of your mini project will no doubt convince your head that it could work on a much larger level!

Remember to invite your headteacher to your culminating exhibition, as well as other members of staff with clout (the deputy head, department heads, governors etc.) – your students will be able to tell them first-hand what an amazing experience they've had and demonstrate the skills they learned during the project.

Convincing your colleagues
Perhaps you’re the headteacher and you’re hoping to persuade the rest of your staff that PBL is the way forward. Or perhaps you’re a Year 7 class teacher with a brilliant whole-year project idea in mind, but the other Year 7 teachers aren't so sure. Whatever your situation, there are ways to convert other teachers to your cause.

First, make sure to be sensitive to their fears – PBL can be scary! Teachers are trained to be in charge – they plan lessons and they deliver lessons. In PBL, this is taken away from them; they are supposed to ensure students succeed and now they have to watch them fail.


Image: lphs.school.net
To counter this fear, make sure they know exactly what PBL is and what will be expected of them. A whole-staff inset event that explains the philosophy behind PBL (along with some concrete examples), why you want to do it and how every member of staff is going to supported throughout the project will work wonders. It will also give you a chance to gather ideas and consider logistics ahead of planning.

Visiting other schools that have successfully implemented project-based learning is also a good idea 
– perhaps you could attend another school’s final exhibition with your colleagues. This is a great opportunity to talk to other teachers who've just completed a (hopefully!) successful PBL unit and convince other staff members from your own school that it’s a great experience and worth it at the end.

Persuading suspicious parents
Another group to get on board is your students' parents. The Innovation Unit suggests giving all parents and students a copy of your project sheet before the start of your PBL unit. This should include:

  • the project title
  • length of the project (i.e. 8 weeks)
  • main teachers involved (plus their contact details)
  • the project’s driving question
  • the final product(s) students will work towards
  • expected outcomes (i.e. By the end of the project, students will know…/students will be able to…)
  • a project timeline.

This will reassure parents that the work their children will be doing is structured, well thought-out and rigorous. Alternatively, send out a letter, pre-empting and placating any possible concerns parents might have and encouraging them to get involved. You can download a great example of a letter from BIE here.

It’s also a good idea to hold an entry event for parents. If you’ve not done a project in your school before and don’t have any previous projects to use as an example (photos, testimonies and student work are all great ways to emphasise the project's success), you might like to use a video to explain to parents what PBL is and how it’ll benefit their kids. We recommend this one from BIE.


Also, try and explain PBL to parents with concrete examples and avoid educational jargon. One huge barrier to parental involvement is parents thinking they’re not smart enough to do anything useful. If they don’t understand PBL, they won’t want to get involved and giving them this opportunity to play some part in their children’s learning journey is a brilliant way to get them enthusiastic and supportive!

You can see if any of your students’ parents have special expertise, interests, hobbies, or skills that connect to your project, but even if they don’t, encourage them to do something small to help – maybe see if they can come in and help set up the final exhibition, or even watch students’ final presentations and judge their speaking and listening skills.

Remember to keep parents updated throughout the project. Information can be sent home via email or uploaded to the school’s website. Another idea is to allow parents to view project 
work via Edmodo or class blogs.

But the best way of convincing parents of the value of PBL is, as with your head and other teachers, seeing its success first-hand. Make sure you give parents the date, time, and location of your final exhibition as early as possible. They’ll be so proud of what their children have accomplished and will be completely on board next time round.


Image: room1beckenham.blogspot.com
So, you’ve got the go-ahead from your headteacher, your colleagues are raring to go, as are your students’ parents… but what about the students themselves? In the next blog post in this series, we explore how to introduce your students to the project, and what makes a brilliant entry event.