Showing posts with label art. Show all posts

Wednesday, 23 July 2014

Launch your PBL unit with a bang!


The first session of your project is one of the most important, as this is what hooks your learners and gets them excited about exploring that juicy driving question. But how can you make it a day to remember?


Image: williambrookes.com
The Year 7 students wait outside the school hall. They’re all clutching flight boarding passes and the corridor is alive with the buzz of excited conversation as they wonder what’s going to happen.

Suddenly, the door opens! The murmuring stops as a Year 10 student steps into the corridor, and the younger pupils wait expectantly for their instructions.

“Your flight to Fiji is now ready to board,” the Year 10 student says with a professional smile. “Please follow me.”

The Year 7 kids follow eagerly, filing into the hall. They see that the chairs in the hall have all been set up in rows of six, with an aisle cutting down the middle – it’s a plane!

Thoroughly thrilled now, the young students take their assigned seats, as directed by the Year 10 flight attendants. They sit for a few minutes, shuffling through the magazines and safety leaflets they found on their seats, before one of the air hostesses plays a real flight safety video and the pilot (a member of staff, dressed the part of course!) announces they’re ready to take off.

The students cheer as he informs them they are now air-borne and on their way to exotic Fiji!

That is, until disaster strikes. The plane suddenly loses one of its engines, and then another. The pilot keeps the passengers informed as yet another engine fails, and the children listen with anxious (but still rather excited) expressions.

“I’m taking us down on the ocean,” the pilot announces grimly.

With great skill (oddly, this pilot has crashed a plane into the ocean a few times before…) the pilot brings the plane down on the sea. 

It’s a perfect landing, and the flight crew begin evacuating their young passengers.

“There’s an island nearby!” the pilot calls as Year 7s leap into the ‘ocean’. “You’ll have to swim. Watch out for the sharks."

And thus begins Matthew Moss High School’s project-based learning unit ‘The Island’. Now stranded on a desert island, the Year 7s will have to work out how they’re going to survive and then begin to explore how their islander community might evolve.

The kids are completely engaged in the story, the very convincing plane crash setting the precedent for a dynamic and absorbing project.

And that’s the trick to successfully launching a project-based learning unit – an exciting, memorable entry event.


What is an entry event?

Your entry event is exactly what it sounds like – the first session of your unit and your students’ introduction to the project.

According to the Buck Institute for Education, an entry event has two basic purposes: 

  • to spark student interest and curiosity
  • to begin the inquiry process by leading students to ask questions.

The whole point of the entry event is to introduce the driving question and establish a ‘need to know’. The students should be hooked – they should want to get on with exploring the driving question right away!

An entry event also has to stimulating and unforgettable. Suzie Boss suggests novelty, so your students aren’t quite sure what to expect.

So what kind of events make for a good PBL introduction? 


Drama and simulations

Kids as scientists on a spaceship
(Image:mantleoftheexpert.com)
Understandably, many teachers opt for the dramatic when it comes to introducing their project – and why not? It’s a chance to have some fun and get involved in a bit of make-believe. It also makes for a memorable launch to the project – which of the Year 7s at Matthew Moss High School are going to forget the day their teacher crashed a plane into the ocean?

Simulations like this work well because they involve the kids in the action. They also give students a role to play in the project. In the case of the plane crash for example, the kids were survivors, stranded on a desert island, and they stuck with and developed that role throughout the rest of the unit. 

Other projects use the entry event to set students up in the role of an ‘expert’. Depending on the curriculum content you’re covering, your kids may be archaeologists working on a dig, rescuers at the scene of a disaster, scientists in a laboratory, astronauts in a space station, or rebel fighters in a civil war. 

This type of project is made for a dramatic introduction. Start yours by gathering your students together for an in-role team meeting or briefing. Remember to let them know who they are. Use presentations, photographs, video clips and sound to get them into role and then to introduce them to their challenge. The more dramatic, the better!

Alternatively, see if you can get a visitor to come into school and play what Suzie Boss terms ‘a stranger from another century’. In her Edutopia blog post, Boss tells of a school who launched their project based on the Epic of Gilgamesh with ‘footage of swords clashing and bare feet running on a grassy battlefield. There were whoops and cries from cheering warriors, but no narrative to explain what was happening.’

As the video ended, the stranger from the past (a local classics professor in full costume) entered the classroom and challenged the students to find out ‘why his army had been vanquished by superior forces.’

If you can’t get someone local to come in and play a historic or fictional character, try a search online. There are plenty of companies, charities and actors who will be happy to Skype you and your class for a small fee. Imagine! Your students could have a chat with a real live Viking! (You know what we mean...)

When it comes to dramatic entry events, the only limit is your imagination. Rope in a few teachers and older students to play any extra characters you need (GCSE drama students are always a good bet) and see what you can come up with. 


Interesting objects

Image: interfaithhousing.org
Another way to introduce a PBL unit is through the use of interesting objects. Appeal to your students’ curiosity and imagination by arranging for a surprise invitation or parcel to be delivered to the class, asking for help with a particular problem, or orchestrate an exciting discovery on school grounds such as a time capsule, an ancient map or a box of secret letters.

Children at a primary school in West Lothian arrived one morning to find a paper trail of animal tracks leading into the classroom. At the end of them, a toy fox and its cub were sitting in the centre of the floor with a letter next to them. The letter explained how the foxes’ home – the enchanted woodland – had been destroyed and so they no longer had anywhere to live. It asked the children if they could help the foxes create a new home.

Other potential project hooks to appeal to the senses and engage students in their driving question include:
  • a display of historical artefacts
  • a provocative reading or poem
  • ‘mysterious’ or unusual photographs
  • film clips
  • sound bites
  • a song
  • a piece of art
  • shocking statistics.

Field trips and guest speakers

School outings and guest speakers - whether speaking in school, via Skype, or out on a field trip - are another exciting way to introduce a project. We’ve touched on this briefly, but guest speakers don’t always have to be in-role as a character from history or a work of fiction. Visitors from charities, museums, zoos, aquariums, local businesses, even local celebrities, can all provide thought-provoking talks to launch a project.

For example, The Innovation Unit’s guide to PBL tells of a teacher who began a project on peaceful protest by inviting in a local musician who performed for the students and then answered their questions about why, and how, he wrote protest songs.

Combining field trips with guest speakers, one school in Stockport took their students on a visit to a local archaeological site, where the students were introduced to a legendary story about a Celtic tribal leader. Developing this story as an epic battle movie became the students’ project.

In another project at Matthew Moss High School, the children were carted off to the local history centre to meet real historians and genealogists. Their task during this unit would be to research their family history and create a beautiful family tree, and experts from the history centre would be on hand throughout the project to assist.


Examining a model response

The Innovation Unit also suggests showing your students a model of the type of product they will be creating as the project’s entry event. There’s no reason you can’t do this as well as a flashy hook, but a careful, full-class examination of a model will show students exactly what you expect from them and what they should aim for.

The model can be something you created yourself, exemplary work from the previous year group’s project (though this is only possible if you’ve done the project before), or work by a professional.
Image: Matthew Moss High School

The biggest advantage of using a model as an entry event is that it provides the perfect introduction to ‘critiquing’ – an important part of PBL (see our first blog post in this series, The 8 essential elements of project-based learning). 

Work with your class to critique the model. Help your class to understand what critiquing means by breaking it down into questions:
  • What is its purpose?
  • How well does it meet that purpose? 

Get them to consider the work they will be undertaking. Look at the model and consider: 
  • What looks most difficult to do? 
  • What looks easiest to do? 
  • What aspects are most important?
  • What are least important?

The model you show will give students something to base their standards on, and spark discussion as to what the students’ own models will need to have, do or be. The ensuing discussion and your kids’ decision on what a ‘good’ final product will look like will be something for you to base your assessment criteria on.

Image: Matthew Moss High School

No matter what you choose to do, your PBL unit should begin with a bang. The kids should be engaged, excited and raring to go. After all, all that planning will be for nothing if your students are not invested in the project.

Of course, a good entry event doesn’t guarantee a successful project. It’s an important factor in getting the kids on board, but it’s where you go from here that will determine how much they get out of it.

A major element of PBL is the multiple drafting and critiquing process. Our next blog post will consider what this means in practice and how you can help your students develop the skills they need to be successful in this area. Watch this space!

Thursday, 17 July 2014

Using myths and legends to inspire confidence and improve literacy skills


Myths and legends can inspire in drama, art, and more!
(Image: belmont.school.nz)
Teaching mythology is a great way to develop a love of reading and writing in students of all ages, to inspire in drama and art and to cultivate a desire to research ancient history and other cultures. 

It's also a great theme to explore with students who are less confident in their abilities and less engaged with learning. The world of myths, legends, fairytales and folklore has no boundaries - it is limitless. Our more vulnerable youngsters can create, dream and imagine, without fear of being judged or without fear of getting it wrong.

Teaching myths and legends to students with Special Educational Needs, or to those whose first language is not English or struggle with reading for example, can be made even easier with the amazing resources available online. Video clips, audio stories, animations, and interactive maps and games are just a few.

Below are reviews of two websites which could prove very useful when differentiating for your less 'able' students. 

Interested? Read on. 

Storynory.com
Key Stages 1 and 2


Packed full of humorous audio stories, Storynory is brilliant for introducing young children to a number of different myths and legends.

You'll find a massive range of free audio stories to download here, including legends such as Robin Hood and King Arthur and a number of Greek myths.

The majority of these audio stories are around 10 to 15 minutes long, and the longer myths are generally split up into parts. Most are available as a transcript also, and on the occasion of a more complicated myth (The Trojan war, for example, which confusingly appears both in history and mythology), the Storynory team have put together some background information to help kids understand both the fact and the fiction.

The auditory form of these stories means this site is brilliant for children who might struggle with reading myths and legends in written form. The site’s homepage suggests using the audio stories with blind or autistic children, or with those whose first language is not English.

The site is also very simply laid out and easy to navigate. This, along with the bright colours and pictures, the cute mascot (a frog named Prince Bertie – once a human prince of course!), and the simple wording of the stories, means young children will have no trouble exploring Storynory on their own if they want to.

Myths and Legends
Key Stages 1, 2 and 3


A great resource for developing a love of stories and storytelling, there are over 75 vibrantly animated myths and legends from the British Isles and beyond to watch and explore on this site.

With each myth set out like a storybook, readers can sit back and watch the animations unfold, or manually click through at their own pace. The accompanying words are also read aloud, along with realistic sound effects, which is great if working with children with SEN in literacy or whose first language is not English.

Teachers can register with the site for free, which then allows their students to upload their own myths and legends (either as a written text, or recorded file) for the teacher to review online. The site provides a whole range of free images and sounds students can download and use when doing this.


Reading and listening to myths can inspire children to 
create their own.

(Image: nicurriculum.org.uk)
For students who want to take their story one step further, there’s the StoryCreator tool, which allows you to create your own storybook style animations, similar to those on the rest of the website. Anyone can access the tool and create a story, but unfortunately, to save and upload your story to the site, your school must subscribe. Whole school access costs £59 a year. It is a fantastic tool though, and I believe worth at least considering. It’s a lot of fun to play around with, but really encourages creativity. It would also be perfect for introducing students to story structure and planning, as well as certain aspects of ICT.

Even if you don’t decide to subscribe, this site is definitely well worth a visit with your class. Students of all ages will really enjoy the animated myths and legends, and the site’s emphasis on the importance of stories and imagination should hopefully inspire them to create their own, whether they’re using the StoryCreator tool or not.

Friday, 20 June 2014

Can you picture the music?


Philip Davis uses images and sound to make sure the students he works with can never say they haven't got any ideas. 

Here, he recounts some of the exciting projects he's undertaken with schools in the last couple of years, and shares a practical activity for you to try with your own students!

The ‘Whole New World’ project in Netherfield school, Nottingham, aimed to raise achievement and motivation in communication and literacy skills across the school. 


Every class, from Reception to Year Six, formed part of an imaginary land – oceans, caves, grassland, forests, rivers, lakes and mountains. I used sounds and images to immerse the pupils into their worlds – for example, a bubble machine and the sounds of waves and water were used with Reception.

Once the pupils had decided what their part of the land was like, they all developed a character. Their characters then became part of stories, and the students used their own images and others with sounds on the map templates. 

A Sherwood oak sculpture at
Netherfield School
As well as developing stories, we made books and models of the characters – Year Six even gave them Latin names. Each year group voted one character to represent their part of the land. These were then made into amazing sculptures using Sherwood oak. They are now in the playground as inspiration for more storytelling and poetry. Structures representing the areas of the land were also built around the playground and the pupils took an active role in doing this. 

Another interesting project I have undertaken with many schools is called ‘Element’, a week-long project based on the four elements – fire, water, earth and air.

The starting point of the whole week is poetry. I put together a collection of images and sounds to inspire ideas. Each pupil writes a poem based on what they experience from those images and sounds. I then collect all the poems and combine individual lines to create four songs – one for each element. Each class learns their song and the enthusiasm shown is wonderful when they realise it is their words being used with the music.

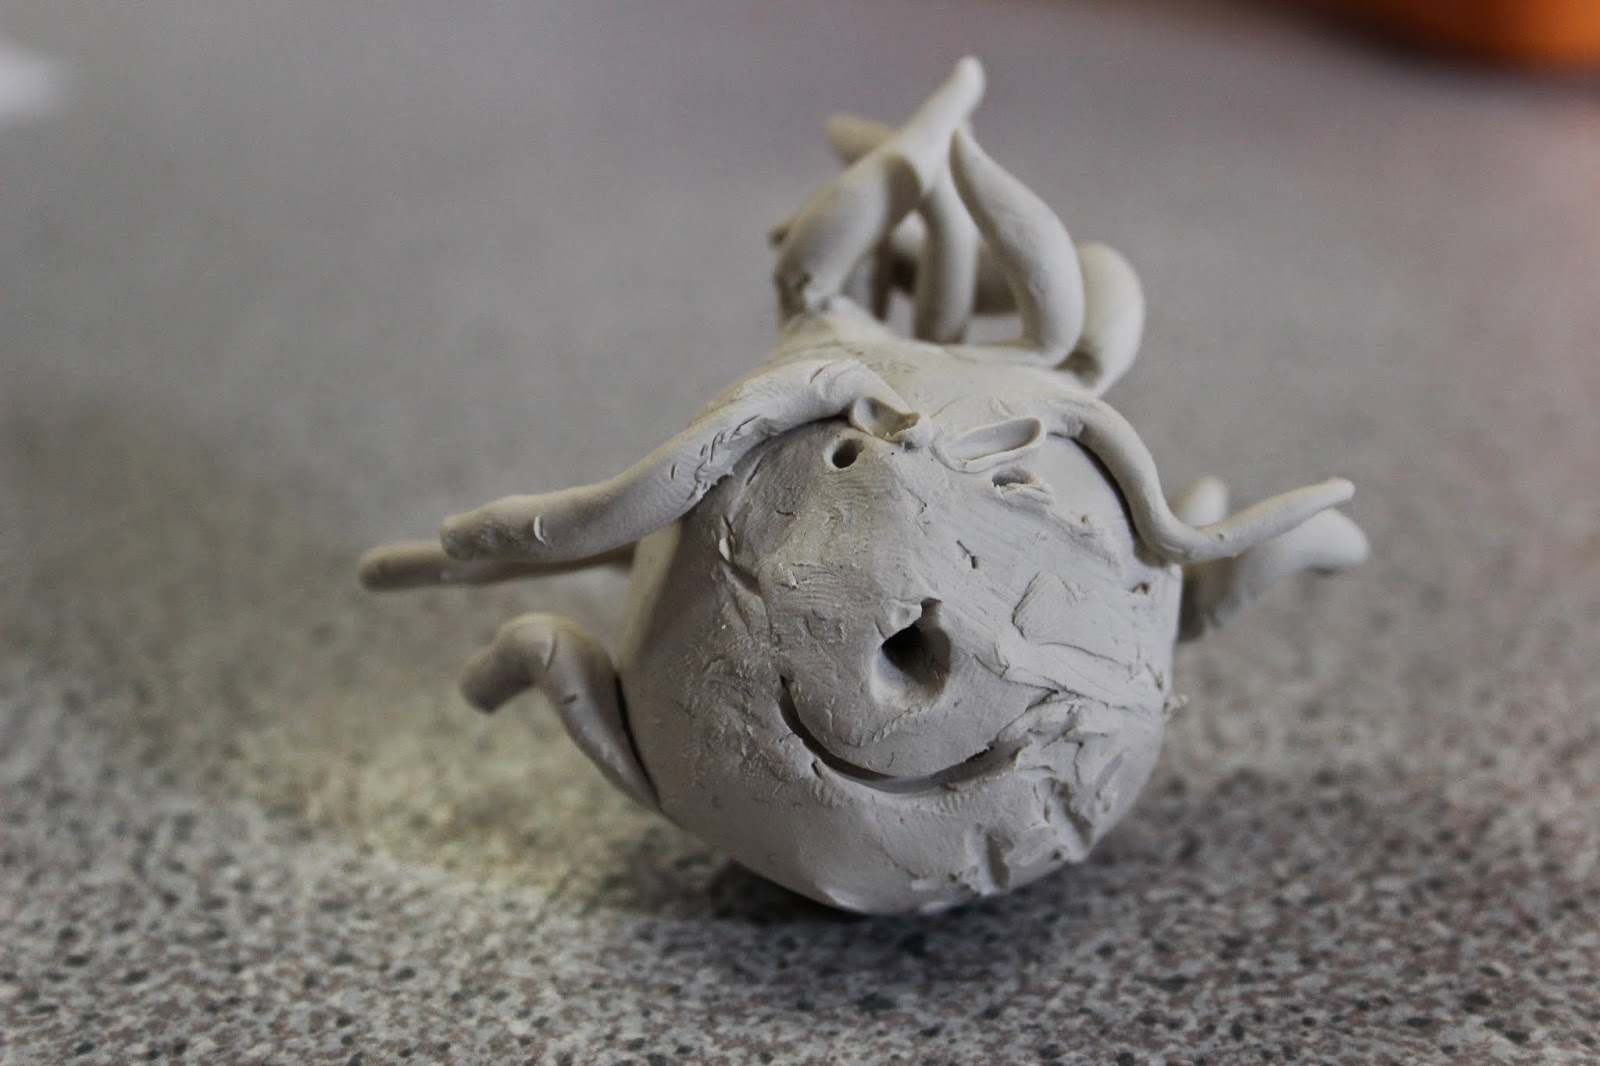
As part of the ongoing development of the methodology used in the Elements project, I have also designed sounds to inspire characters that represent the elements. I do this through something I call 'Sonic Moulding' – creating a three-dimensional model from sound. The diversity and imagination shown in this activity is stunning. Last year, I ran the project in four schools and not one model has been the same. It is an activity that both adults and children love.

The product of 'Sonic Moulding'
These models are then used as the basis for character descriptions. The engagement of the pupils is fantastic – they just love talking about their models, even giving them voices. Some pupils have even gone on to make short, stop-frame animation films with their models. There are so many possibilities.

The Elements project continues with sonic painting, drawing from sounds, poetry performance, expressive dance, song and sound design. Everything is put together for a special performance for parents and other invited guests. The pupils are encouraged to take an active role in all the preparations of this show. 

One parent said to me about his son in Year 4: ‘He usually doesn’t talk about school but this week he hasn’t stopped. He’s loved every minute.’

Try something like this yourself!

You will need:
  • An image of a door (either on screen, or printed - make sure if you print it to have enough to distribute among the pupils)
  • Two sounds of your choice
  • Paper/pens

Put the image of the door on the screen.

Tell the pupils that the first sound they will hear represents a setting behind the door. Ask the pupils (you can do this with any age – even adults love it!) to write down or draw what settings they ‘see’ behind the door. As sound affects us all differently, it is very possible that each individual will have many, unconnected ideas – this is fine and should be encouraged. 

One Year 1 class  used the sounds
to imagine a scary, cold cave
After the sound has been played, give the pupils a few minutes to gather their thoughts and then share the ideas. Get them to write down everything that comes into their heads and encourage as much detail as possible. Rather than saying ‘there is a forest behind the door’, ensure that the atmosphere, colours and all the small details are described. 

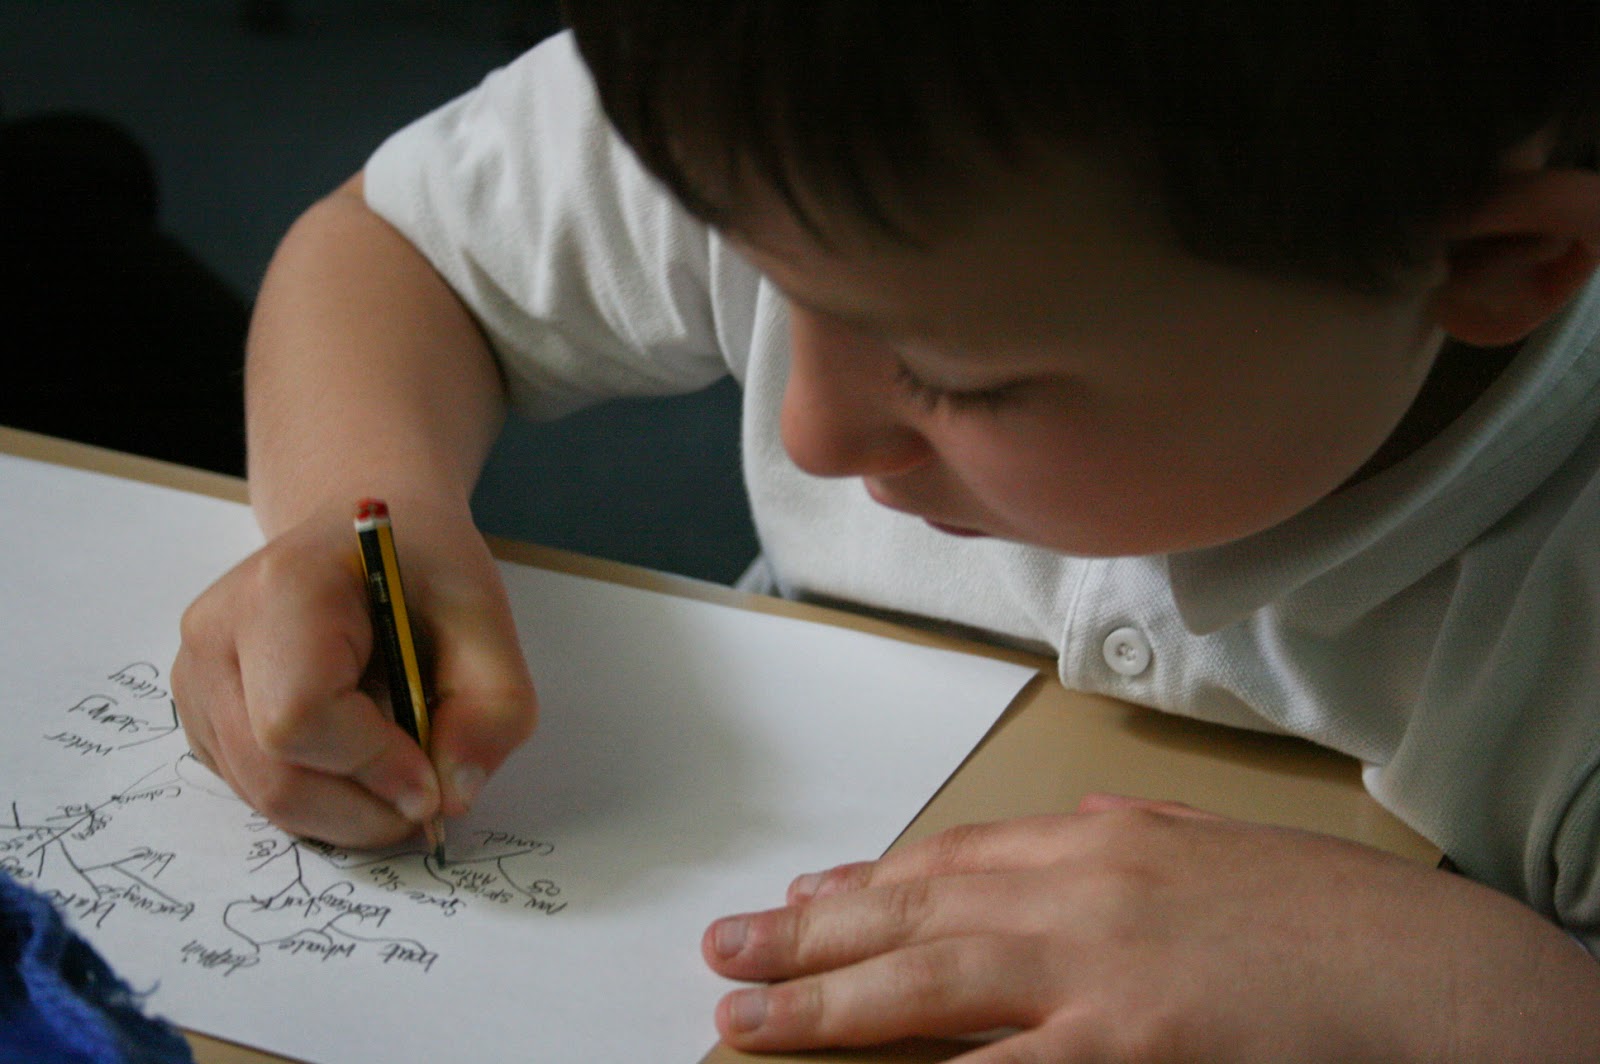
Students can jot down their ideas on mindmaps like the one to the right or post-it notes.

The second sound represents a character. It is important to mention here that you do not want your students to come up with a character from fiction, but an idea of their own. Students can base them on characters they know from fiction, but do encourage them to be original. It works.

Now your students have both a setting and a character - let the creative works commence!

This blog post has been adapted from the article Philip wrote for Creative Teaching and Learning magazine. You can purchase the fab full article here.

Find out more information about Philip and his work here.

Watch the video below to see some of the amazing creative responses generated during the Elements project.

Saturday, 26 April 2014

Snapshots, Twitter and tiny people


Photography teacher Jane Hewitt inspires her student to look at the world from a different perspective, putting the power of creation and creativity in their hands!

Allow me to introduce ‘Bert’ he’s only a couple of centimetres high but has such a story to tell!

Meet Bert!
He didn’t start out with a story, but simply as an inanimate prop for my GCSE Photography group who were trying to recreate images in the style of Slinkachu, a modern street artist based in London who creates tiny scenes using these ‘little people’ and then abandons them on the streets for people to find.

I began by trying to do some of these images myself – call me a coward if you like but when I’m trying something new or something that is outside of my comfort zone, I prefer to try in private away from 30 or so sceptical pairs of eyes!

I duly set up ‘Bert’ in the middle of my lawn and lay down to take my images (not sure what the neighbours thought!). He is so small it was easy to find a range of places for him – in the middle of a patch of clover, perched on the fence with a spider’s web behind him, in a puddle so you could see his reflection. You can see how small he is and the whole fun of these tiny people is to create ‘worlds’ for them.

In some lessons pupils used plasticine or scraps of card to create scenes, but I have seen images where sugar or custard powder was used for a beach scene. For just £2, I managed to buy an old metal traffic light, which was part of a discarded train set at a local antique store. Look around your kitchen … liquorice allsorts make a great climbing mountain, cups and saucers make seats, tea bags make backdrops – the only limit is your imagination. The book Microworlds, authored by Mark Valli & M Dessanay, gives some inspiring ideas.


Liquorice allsorts make a great climbing mountain
On showing these images to my KS4 students, they immediately started to talk about these tiny toys as people with a history – he had to have name – hence ‘Bert’ and it was sad that he had everything that he owned in the three colourful bags on his bench. They then couldn’t wait to examine the other people – I’ll just introduce you to ‘Gladys’ who is my own favourite! She has a shopping trolley full of objects – you have to study closely!


Meet Gladys!
She has a shopping trolley full of objects


The Photography students had to physically create the ‘worlds’ that these figures inhabit – but I have done this with a Year 7 class where they have created worlds with words and written their stories on Twitter. @TheHeadsOffice is a wonderful supporter of creativity and Julia Skinner, founder of the 100 Word Challenge, suggested that we could in fact use these as stimuli for our stories. Visit the website www.headsoffice.co.uk to see the weekly 100 Word Challenge for creative inspiration.

Combining a visual stimulus that pupils can control and manipulate, with a rigorous, but fun, written challenge can produce really imaginative results. Students were amazingly creative – below is an image of Bert in winter – set up in the classroom using a sherbet fountain and an old pinecone. 

Sherbet and pinecones put Bert in deepest winter!

The GCSE Photography students’ task was to research, design, record, manipulate (using Photoshop) and then analyse. The Year 7 pupils worked in pairs, to choose their little person and create their character and world. I ‘scaffolded’ this by agreeing the criteria – name, age, occupation, a secret they had and their best moment ...the possibilities are endless. To take this to the next level we began to link our people together – thinking about how peoples’ lives become interwoven. We joined pairs together and began to link stories – did they go to school together? Had they had an argument in the past? Taking it to the next level we created their village – using a flat sheet, masking tape and post it notes (thanks to the wonderful Dorothy Heathcote for that inspiration!). Who lived where, worked where, where did Bert meet Gladys? What do we need in our village?

So, where do I get these figures? Well they are model railway figures made by a company called Preiser – you can get them from Amazon or eBay (they start at £3.99). There is a huge range – I buy the finished ones but you can buy them unpainted and be even more creative! The size of the figures means that they are unsuitable for young pupils but older ones think they are ‘awesome’ (not my word!) and are happy to be creative. Take them outside and use natural backgrounds, create and draw your own world, find a world in a book and use that image as a background. Be warned – this is seriously addictive! 

The material in this blog post was taken from the article, 'Snapshots, Twitter and tiny people' by Jane Hewitt, published in Creative Teaching and Learning, volume 2.4.

An intrepid little person discovers the dangers of the school pond!


A guitar is used as a prop here

Coca Cola makes a great lake, as one student discovered
A little man takes cover

One student used sugar and lollipops to create a retro beach scene